Come Learn with Me in 2018

If it weren’t for my Google Calendar, I quite literally wouldn’t know where I need to be. If I can barely keep track of my schedule, I doubt anyone can.

Here is a roundup of the expeditions and workshops I’ll be leading this year (and in 2019). Some are new and other are tried and true. You can always check which National Geographic Expeditions trips I’ll be on as an Expert here.

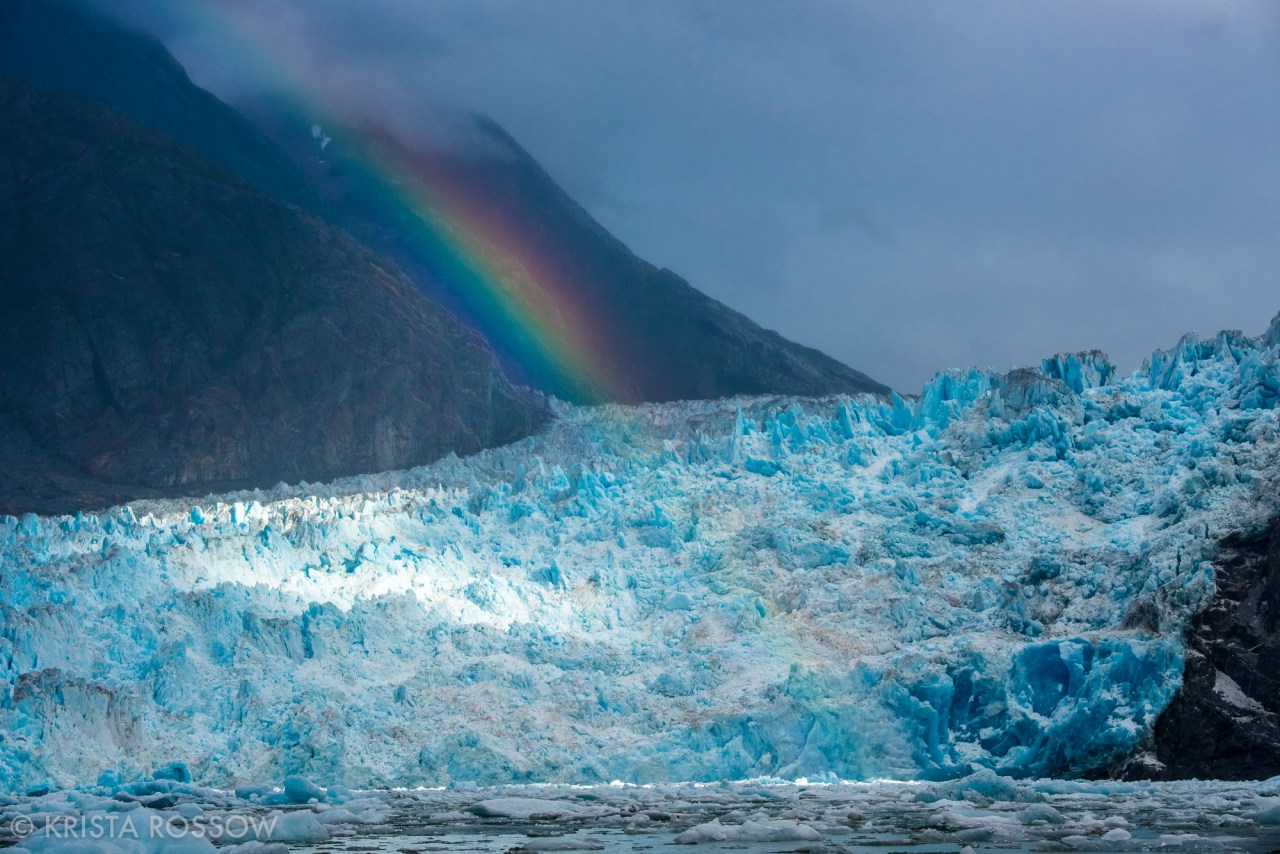
Coming up March 7th-21st, I’ll be on board the National Geographic Orion for the Best of Patagonia: From Torres del Paine to Cape Horn. I had a wee taste of Patagonia before my Antarctica trip last year and I am so excited for this sure-to-be-stunning journey!

On May 12th-23rd, I return to Morocco to lead the Morocco Photography Expedition for National Geographic Expeditions. To read and see more about last year’s experience, click here. We will begin in Casablanca, visit the chaos of Marrakech, climb into the Atlas Mountains, and then explore the Sahara Desert. We end in my favorite city, Fes, to get lost in the labyrinth of the souks.

Photographer

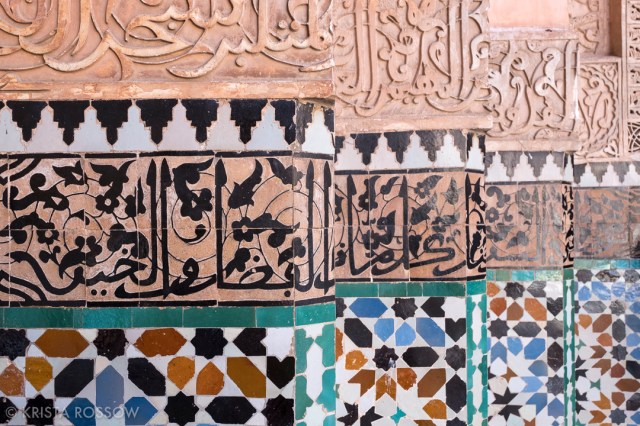
Tiles at the Ben Youssef Madrasa in Marrakesh.

Photographer

The famous (and pungent) tanneries in Fes.

Photographer

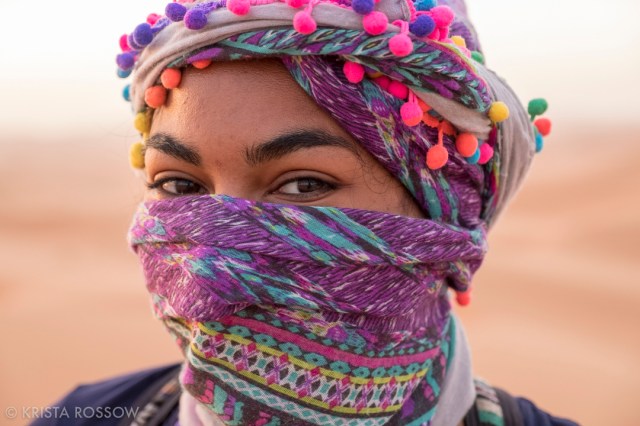
Sunrise photography in the Sahara with of our expedition guests.

Immediately following Morocco, I’ll swap out flip-flops for hiking boots and head to Alaska for two dates on the Wild Alaska Escape on May 29th-June 3rd and June 3rd-8th. This will be my third trip to Alaska for Lindblad/National Geographic and it personally ranks as one of my favorites. Read more about the trip here.

krista-rossow-alaska-photography-brown-bears-pavlof

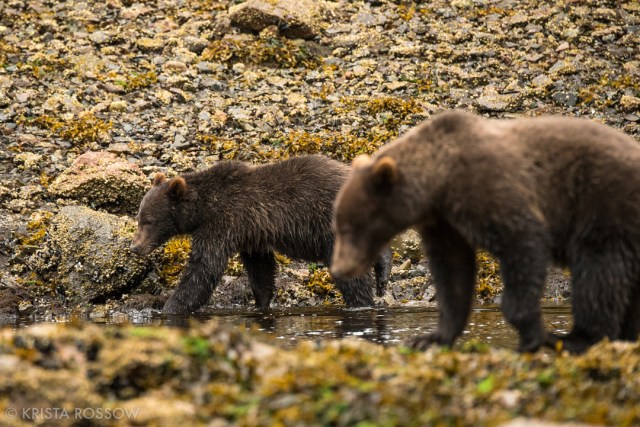
Brown bears at Pavlof Waterfall.

krista-rossow-alaska-photography-whales-feeding

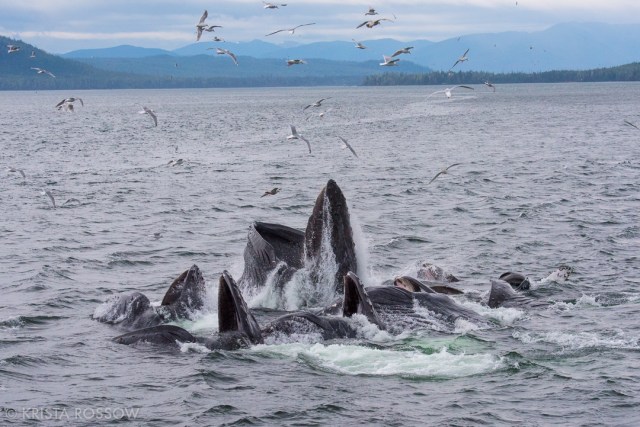
Bubble-net feeding humpback whales in Sumner Strait.

On June 24th-29th, I’ll be returning to the Santa Fe Photographic Workshops to teach The New World of Travel Photography. We will explore the Santa Fe area and learn to make our travel images stand out from the crowd.

Photographer

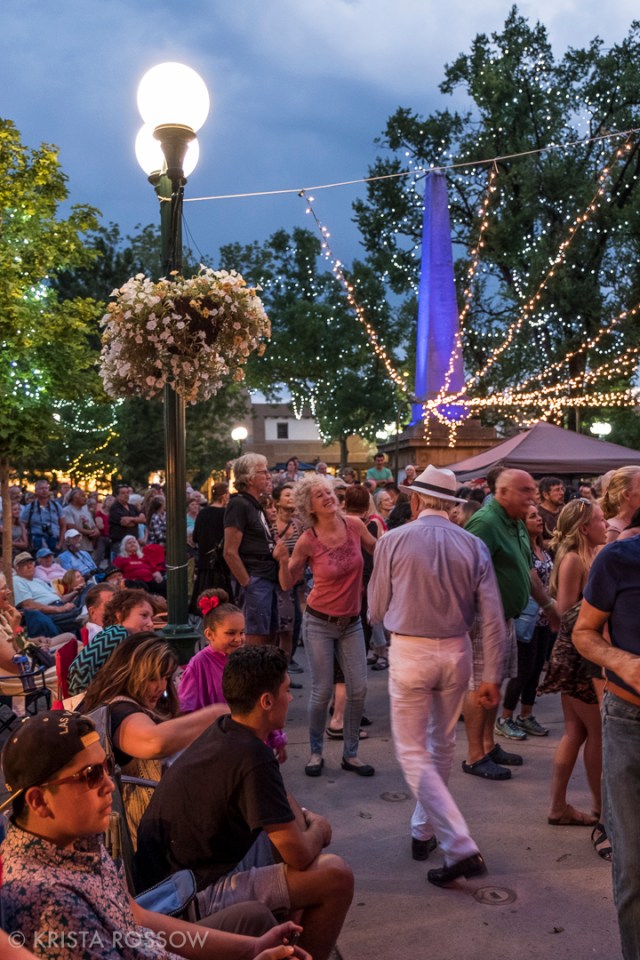
Feeling festive on Santa Fe’s famous Plaza.

Last year I had the opportunity to teach with National Geographic Student Expeditions for the first time in Yellowstone National Park. This year I’ll be leading another high school student group for the Yosemite and San Francisco Photo Workshop from July 17th-28th.

Late summer will find me in Aspen, Colorado, teaching for the first time at Anderson Ranch Arts Center on August 13th-17th. Join me to explore the beauty of Aspen in my Beyond the Postcard photo workshop.

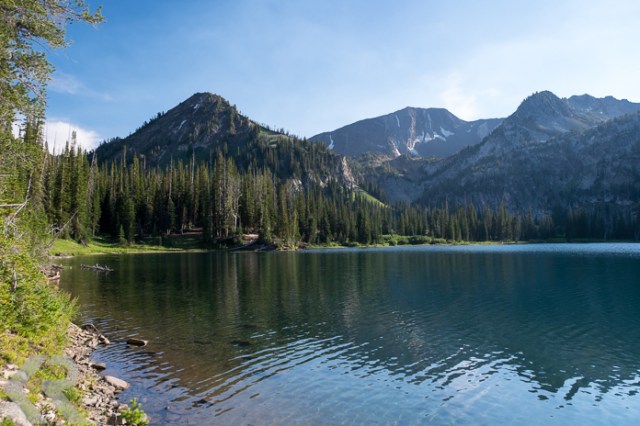
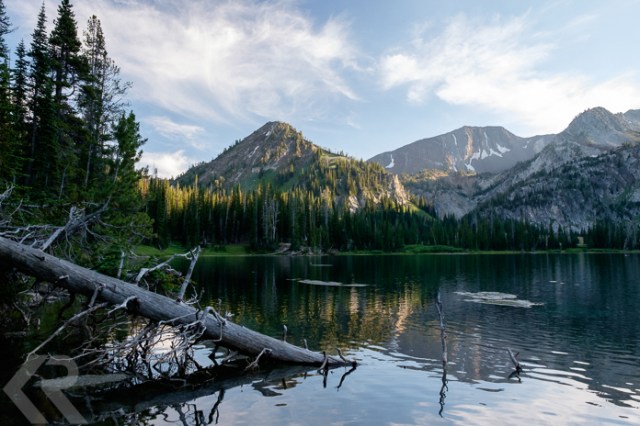
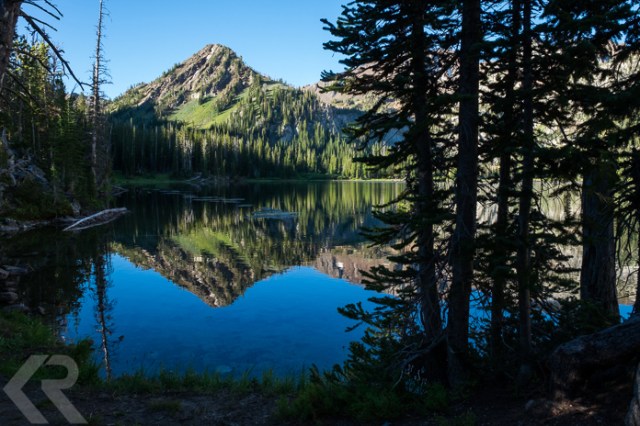
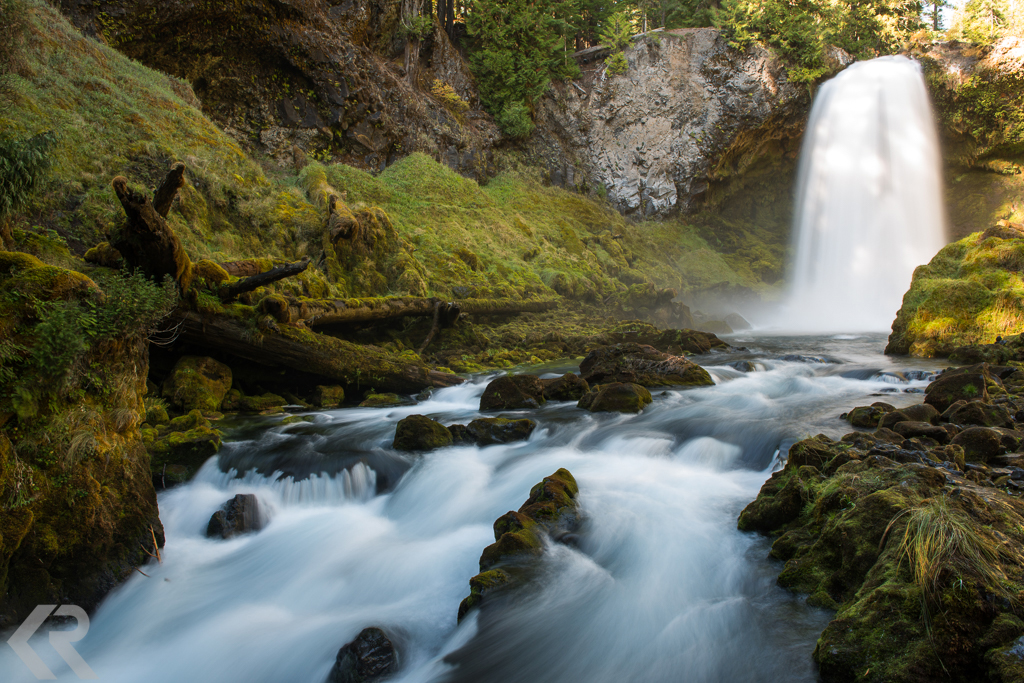
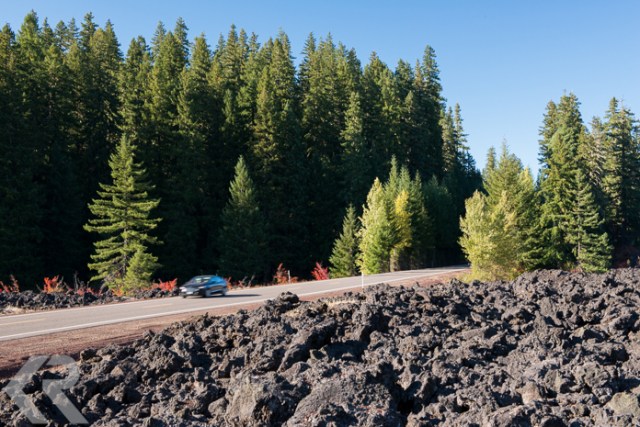
In the fall, I’ll be teaching a private workshop with Jennifer Davidson in my home state of Oregon. If you’re interested in a customized, private workshop, please contact me.

Photographer

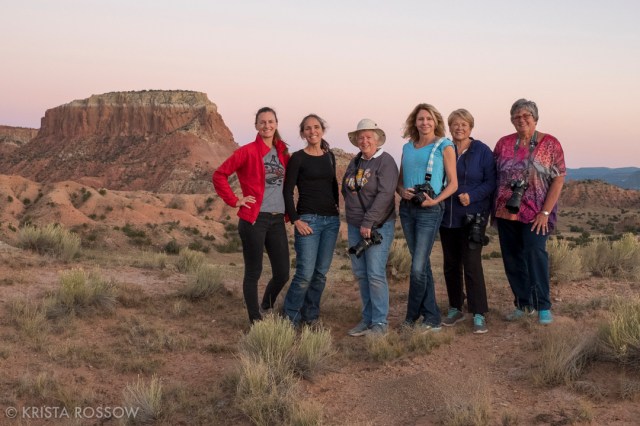
Last fall Jennifer and I led a private workshop for our friends the “Roadrunners” in Santa Fe.

Photographer

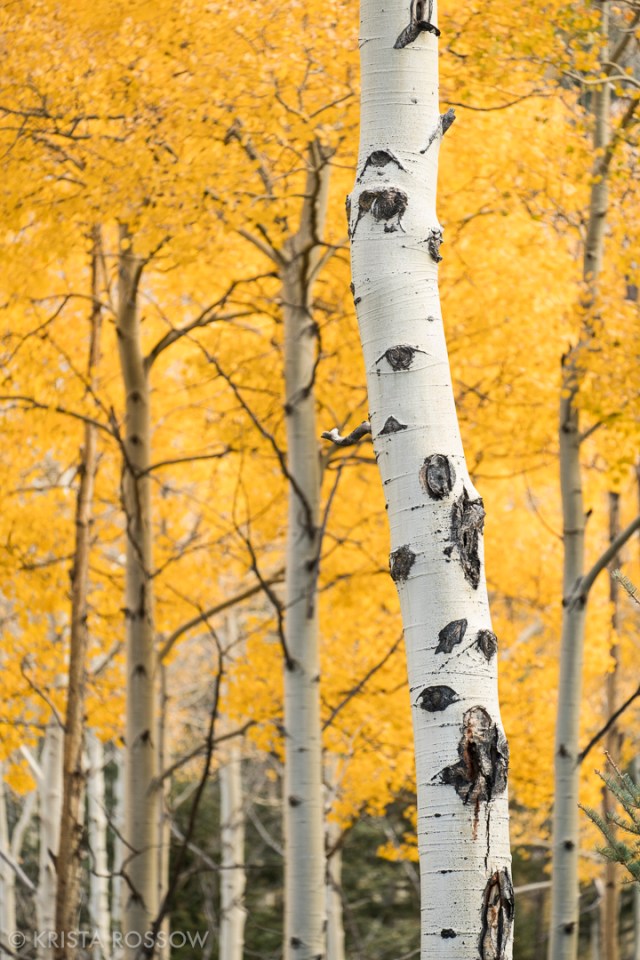
Fall foliage in the mountains surrounding Santa Fe.

Photographer

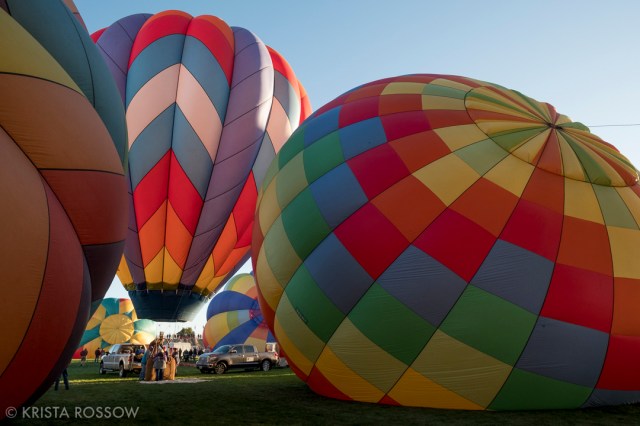
The magical Albuquerque International Balloon Fiesta.

If you are already daydreaming about travel in 2019, I’ll return to the Upper Amazon and be joining National Geographic Expeditions on their new European river cruises on the Duoro River and on the Danube River.

I hope my travel path crosses with yours!

Post Processing: Lightroom’s Graduated Filter Tool

The following was published in the December 2016 issue of the digital-only Photography Magazine produced by National Geographic Traveller (UK Edition). Download the free app on iTunes, Google Play, or Amazon to browse more of the articles in these insightful issues.

Although the graduated neutral density filter has long been an essential tool for landscape photographers, it is never one that I’ve owned myself. Ironically I’ve come to love the Graduated Filter tool in Lightroom to selectively darken or lighten portions of my images.

One of the difficulties with photography is that the camera can’t capture the range of light that our human eyes can see. Although I we see highlights and shadows in a high-contrast scene, the camera’s dynamic range can’t capture both ends of that spectrum. While using the aforementioned “grad ND” filter or an HDR (high dynamic range) technique can solve this problem when used effectively, my preference has been to learn when a scene is too high contrast for my camera’s dynamic range and decide to either return when the light is more balanced or look for a different composition.

Therefore, I’m not using Lightroom’s Graduated Filter to try to recover highlights or shadows where detail was completely lost, but I’m instead starting with raw images that are well exposed and using the tool to optimize the image.

For example, I photographed this landscape while riding a gondola up into the Wallowa Mountains of Eastern Oregon. I loved how from that perspective I could show the dramatic change of terrain from rugged mountains to the flat farmland. The camera, set to matrix metering, gave me an exposure that captured all tones of the image from shadows to highlights. Still, mottled clouds darkened portions of the foreground filled with trees while the clouds and sky in the background appeared much brighter. To darken the background sky, the Graduated Filter was the perfect tool.

krista-rossow-graduated-filter-lightroom-tutorial-a

Version exported from original Nikon D800 camera raw settings.

krista-rossow-graduated-filter-lightroom-tutorial-b

Final version after using the Graduated Filter to darken the sky, plus overall contrast.

  1. In Lightroom, with the above photo selected, I went into the Develop module. Before using the Graduated Filter, I first did universal adjustments to my raw image using the sliders in the basic adjustment panel. I darkened the overall exposure slightly by -.5 and added contrast of +22. I also opened up the shadows, to show more details in the trees, by setting the slider at +29. I gave the image a slight boost in clarity to +7 and gently bumped the vibrance slider to +10 (Warning: it is easy to make colours appear unrealistic very quickly with this slider).
  2. Then I clicked on the Graduated Filter icon in the row of icons above the basic adjustment panel, but I could also have used the keyboard shortcut M to activate the tool.
  3. Once activated, an adjustment panel popped up above the basic adjustment panel and I could see multiple adjustments options that were very similar to those in the basic panel. Although there are other uses for the Graduated Tool, because my primary goal with the tool was to recover some of the detail in the clouds and color in the blue sky, I decided to use the exposure slider to selectively darken a portion of the image. Before setting the placement of the filter on the image, I set my exposure slider at the extreme amount of -4 so that I could see the effect when placing the filter.
  4. I then clicked on the top of the image and pulled down with my cursor that had turned into a plus symbol. A horizontal row of three lines appeared, and I drug the lines at an angle until the middle line, which has a grey pin in the center, lined up just below the sky and clouds. By dragging the lines further apart, I was also making the transition of the filter effect more gradual. Tip: hold down the shift key while using this tool for a perfectly straight horizon or rotate the tool after placement by activating the double arrows when hovering your cursor over the middle line.
  5. With the middle line of the filter placed just below the sky and clouds, I next set the exposure to -.78 and increased contrast to +22. To toggle the effect on/off, I clicked the light switch button on the bottom left of the panel because I wanted to double-check that my adjustments were realistic. In general, I rarely change the exposure much more than one stop in either direction.
  6. I had the option to then layer on more Graduated Filter effects, each with their own settings. And if I had added one I didn’t like, I simply needed to hit the delete key while it was activated. Because I was happy with the one Graduated Filter effect, I clicked “Done” in the bottom right of the image panel.

While this post-processing tool cannot replicate the physical usage of a “Grad ND” filter in the field, nor can it effectively restore an poorly exposed image, I find it a useful tool to optimize my images. And as with any tool in post production, one has to be careful not to let the tool show.

Photo Tip: Layer Your Landscapes

Photography is a tricky medium. With it, we are translating the 3D world into a 2D outcome. So how to you take a landscape, which has depth, and make a viewer see and feel dimension while looking at a flat screen or a flat photographic print?

First, we must realize that not every scene that we come across in real life is going to make a stunning photograph. How often on your travels do you pull over at a viewpoint and your jaw drops because the scene in front of you is gorgeous, but when you take the photo it just looks flat?

As photographers, we are responsible for “building in” depth to our pictures by adding layers into our landscapes. Sometimes light creates natural depth in a scene for us. As in the above shot from Cape Town, angled sunlight creates long shadows that tell our eyes there is dimension in the scene. Other times, we have to work harder to find a position to shoot from that incorporates interesting foregrounds, middle grounds, and backgrounds that force layers in the photograph.

In this post, I’ll show you a few photos from a recent backpacking trip into the Eagle Cap Wilderness in Eastern Oregon that will hopefully shed a little light (pun intended) onto how I think when composing a landscape shot.

krista-rossow-oregon-photographer-1

I’ll begin with the above straightforward “postcard”shot of Aneroid Lake that was taken in mid-afternoon. The angle of the sun allows a bit of play between light and shadow on the mountains (and is much more forgiving that if I’d taken this shot at noon), but there isn’t any depth to this photo aside from a bit of foreground leading my eye into the frame on the left.

Aneroid Lake in the Wallowa Mountains of Oregon.

I decided to wait a bit longer for the sun to set further and create more dramatic light. You can see that the light is almost dancing around the mountain peak and has made the row of trees along the lake’s edge seem spotlit. I also decided to work harder by wading into the chilly water and finding a fallen tree to use as foreground. The silhouetted trees in the mid-ground also help to add dimension.

krista-rossow-oregon-photographer-3

Still not totally satisfied, I got up early the next morning to see if I could make an even better picture. In this setup, I found some trees to use as dramatically silhouetted foreground and I was careful to include the curving bank to frame the edge of the photo and lead my eye back into the scene. The morning sun cast beautiful light onto the mountainside and gave dimension to the forest and rocks.

How do you add dimension and layers into your landscape shots? Feel free to leave your comments below.

On Newsstands: McKenzie River Road Trip

Early last month I headed up the river and through the woods on a short assignment for 1859 Oregon’s Magazine. The McKenzie River Highway is a beautiful drive which I’ve done many times as a non-stop, direct route to get from Eugene to Bend, but I’d never taken my time and stopped to smell the forest, so to speak.

This time I discovered an organic farm stand outside of Leaburg, felt the spray of Sahalie and Koosah waterfalls, dipped a toe in the warm waters at Belknap Hot Springs, and wandered along parts of the 26-mile recreation trail that parallels the highway.

A few outtakes follow to inspire your own road trip, but if you are in Oregon you can head to newsstands to grab a copy of the November/December 2015 issue.

Picture of lava fields in Oregon

Lava fields lie in stark contrast to the verdant forests that line most of the McKenzie River Highway.

If you are interested in licensing any images from this post, please visit my Photoshelter website.

Photo Tip: Get Eye-to-Eye with Animal Photography

One easy way to improve your animal photography is to change perspective. Think about getting the shot from the animal’s eye level; most often that will mean to get low.

Shooting from the animal’s eye level can make an animal portrait more intimate and about personality. An added benefit of shooting from a lower perspective is that it usually makes for cleaner backgrounds.

Galapagos sea lion at sunset

In the shot above of a Galápagos sea lion at sunset, I crouched down on the beach. Along with the position of the sea lion’s head, this made the animal look more majestic. This also caused the sea lion’s body to stand out against the lighter background of water and it filled the space in the frame. Lowering my perspective made the photo more dynamic.

Galapagos sea lion at sunset

Above is the “before” picture that I took from my eye-level when I walked up to the scene. The sea lion’s head and neck are lost against the similarly colored background of the sand. Also, there is a lot of empty space being taken up by the sand and water. I knew it wasn’t a great photo, but it was a good starting point for experimentation like lowering my perspective and waiting patiently for the animal to make an interesting shape and gesture.

Galapagos land iguana

Sometimes getting low means getting dirty. I saw this Galápagos land iguana (pictured above) on the move and got onto my belly in front of him using my telephoto lens. I then snapped away hoping that I’d catch his hand in a gesture that would show he was walking. By getting so low, I cropped out the distracting brush that was in the background and made this photo all about the animal.

A dog at a pub in Salem, Oregon.

Just because our pets aren’t as exotic as some animals we’ll encounter on our travels, it doesn’t mean the same techniques won’t apply. Try getting onto your puppy’s perspective or crouching with your cat. And this is where I’ll spare you from having to look at endless images of my own pet!

For more stories behind getting a successful photograph, head over to National Geographic’s On Assignment blog to read about capturing the essence of San Francisco and unexpected encounters.

And I’d you’d like to learn photography in person with me, come to the Galápagos Islands or Alaska on a National Geographic Expedition or meet me in Texas this summer. Read more of my photo tips here.

Buds on grape vines in Oregon Willamette Valley

On Newsstands: The Oregon Trail to Pinot Noir

Last month, just as buds were appearing on vines, I explored Oregon’s wine country while on assignment for 1859 Oregon’s Magazine. Head to newsstands to pick up an issue of this Pacific Northwest magazine and get inspired to take “The Oregon Trail to Pinot Noir.”

1859 Magazine Spread

Road Reconsidered article shot for 1859 Oregon’s Magazine, May/June 2015 issue.

1859 Magazine Spread

Road Reconsidered article shot for 1859 Oregon’s Magazine, May/June 2015 issue.

For more images from Oregon’s Willamette Valley, see outtakes here.

Oregon State Capitol building

On Newsstands: Salem in 1859 Oregon’s Magazine

As a native Oregonian who has been away for much too long, I was delighted to receive an assignment from 1859 Oregon’s Magazine to photograph Salem, the state’s capital located only a hop and a skip up the road from me.

Grab a copy from the newsstand if you are in the Pacific Northwest, or read the article online on 1859‘s website (and see more of my photos).

Layout from 72 Hours Salem story.

72 Hours in Salem article shot for 1859 Oregon’s Magazine, November/December 2014 issue.

Layout from 72 Hours Salem story.

72 Hours in Salem article shot for 1859 Oregon’s Magazine, November/December 2014 issue.

Image

Taking the Leap: Welcome to Bloglandia

Taking the Leap

Self-portrait playing in the sand dunes on the Oregon Coast

I’ve taken the leap into Bloglandia! Welcome to my Krista Rossow Photography blog where you can keep up to date on work-in-progress, published stories, and other news. As I greet you in this new virtual home, I thought it only appropriate to start with a self-portrait taken on a beautiful summer day in my home state of Oregon.